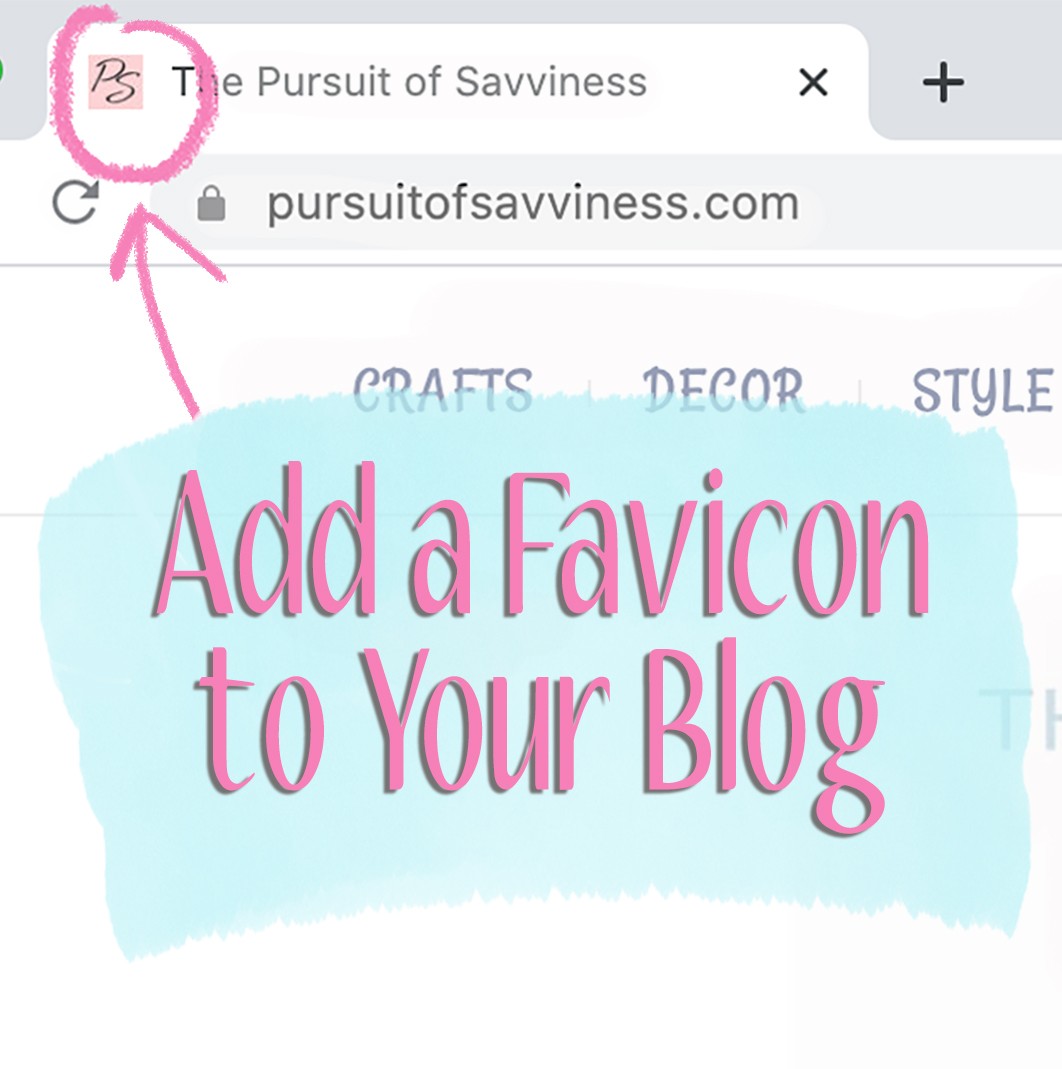
So you might be wondering how most sites have that little custom image next to their title in the browser. It’s called a favicon and I was wondering the same thing. A favicon is a small image also known as a website/URL icon. A favicon helps to give your site an identity and a more professional look. If you have multiple tabs open in your browser, a favicon helps you quickly identify certain sites.

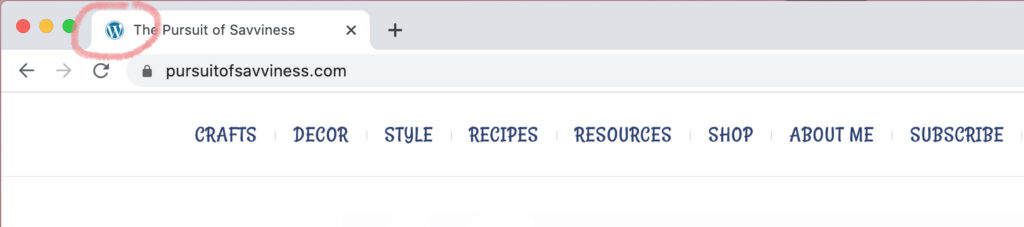
If you don’t add a custom favicon to your WordPress site, by default, the blue WordPress icon will show up next to your website name in the browser. I’ve often visited other WordPress blogs and seen the little blue “W” and wondered if bloggers just didn’t know how to change their Favicons.
It’s simple to add your own favicon to your WordPress site or blog by following this tutorial.
First, create your custom favicon with the image editor of your choice (I use Adobe Photoshop). If you do not have access to an image editor, there are several online Favicon generator sites that are totally free! When creating your favicon, make sure your image size is at least 512 x 512 pixels. These are a few free favicon generating sites:
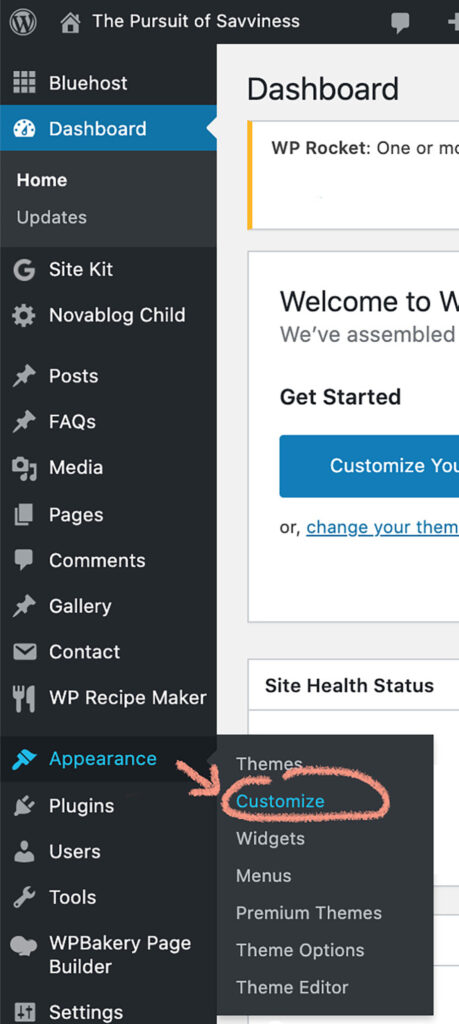
Once you have created your favicon, go to your WordPress Dashboard. From your dashboard, go to Appearance and then click Customize.
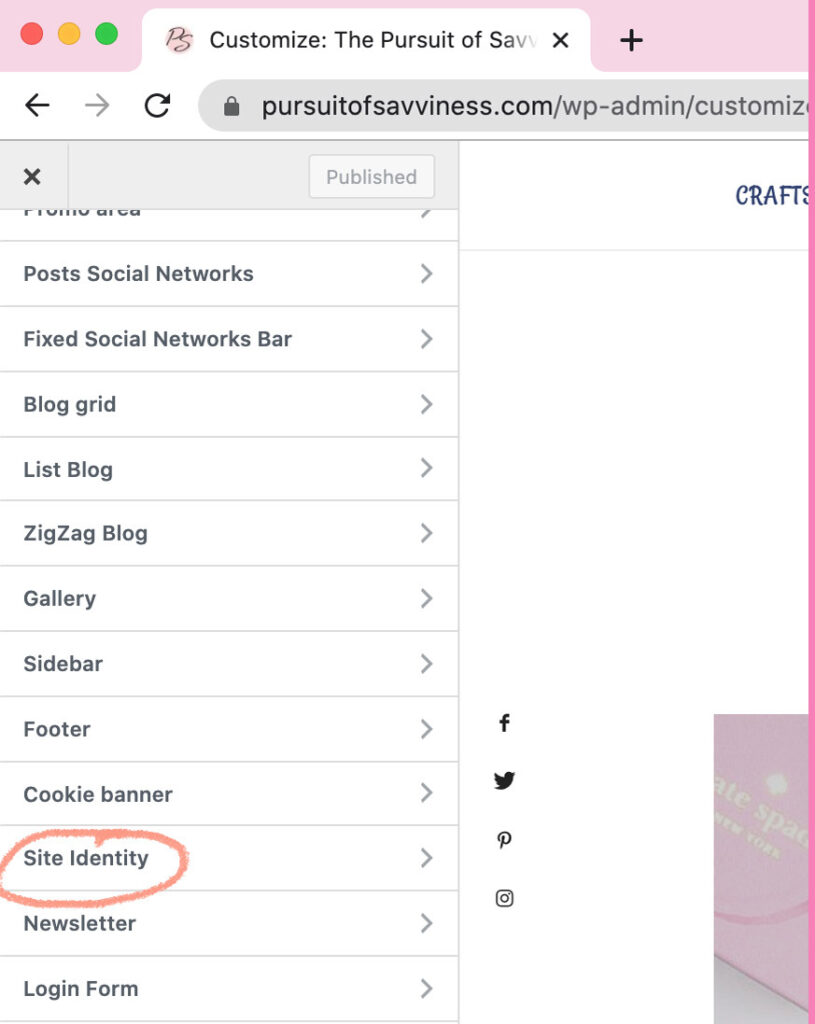
Next, click on “Site Identity”.
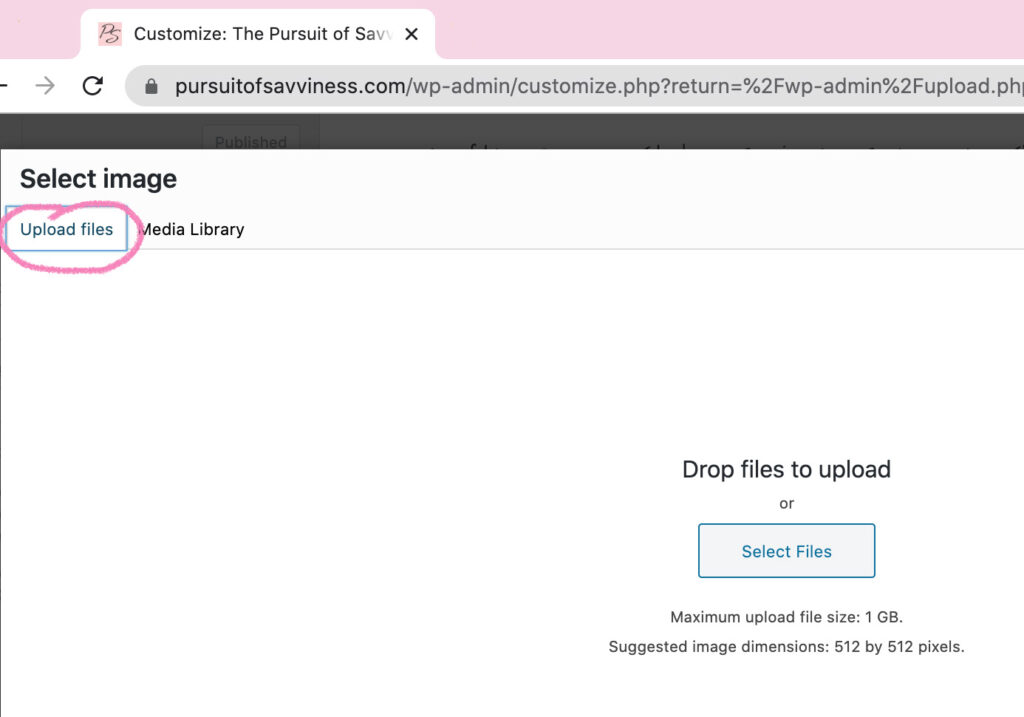
Then make sure you have filled in your site name and tagline (optional). Then click “select site icon”.
![]()
Next click “Upload” and select your favicon image file.
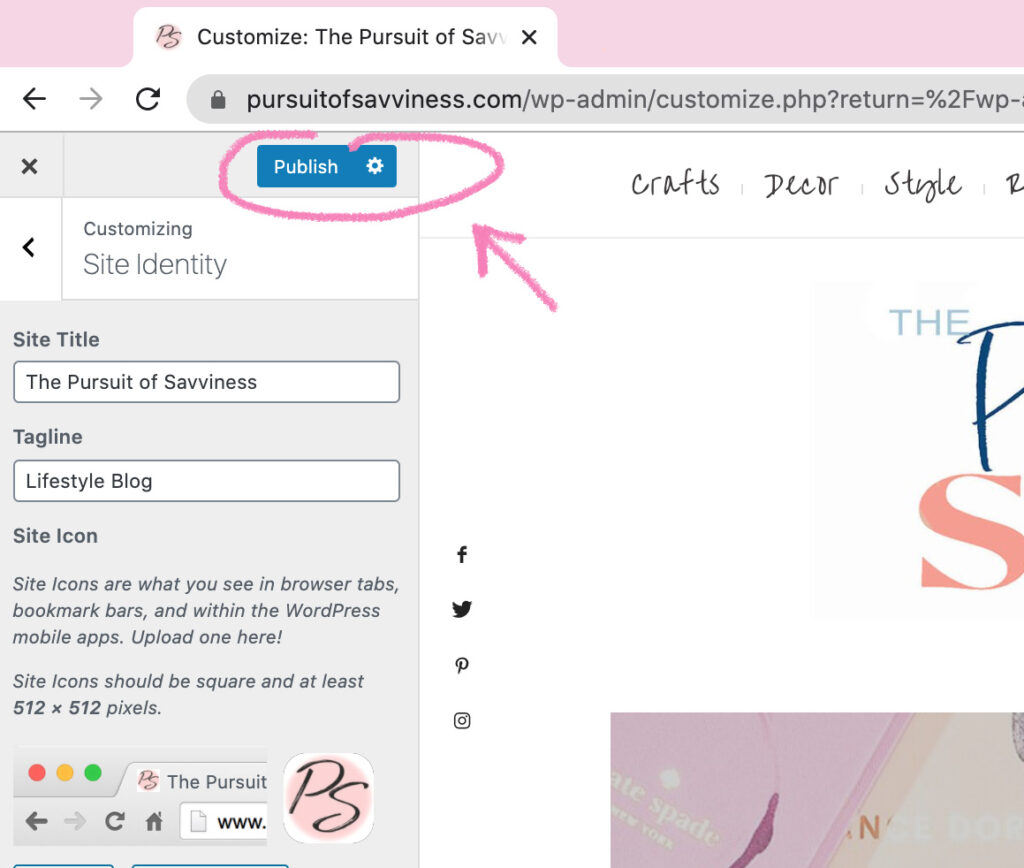
Once uploaded, you will see a preview of your favicon in the lower left corner. If you are happy with your favicon, click “Publish”.
And just like that… you have yourself a favicon!


Stephanie
December 8, 2020This is so helpful! Great way to personalize a blog and stand out!